
Rope & Bondage · 8 min read
A Beginner's Guide to Shibari: Japanese Rope Bondage
Shibari is the art of Japanese rope bondage, part craft, part connection. Here is where it comes from, what rope to choose, how to tie safely and how to start learning.
By the Spanque team ·
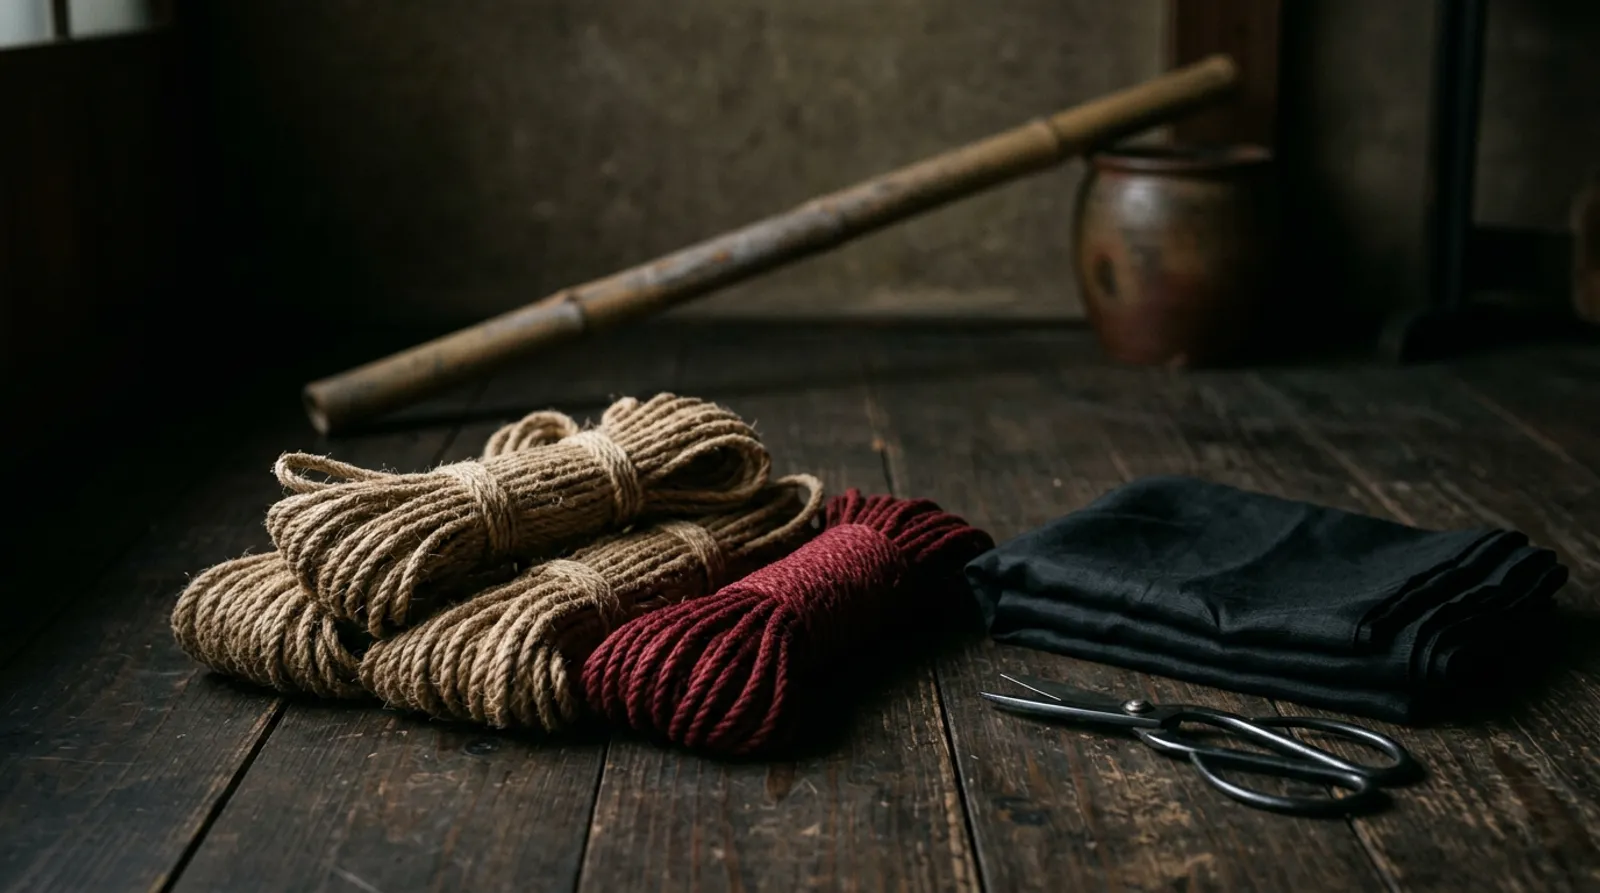
Shibari is one of the most beautiful and absorbing forms of kink. Rope is wrapped, knotted and tensioned around the body to create patterns that can be decorative, restrictive or both. For some people it is an erotic practice, for others it is closer to meditation or performance art, and for many it is all of those at once.
It is also a skill that takes time to learn properly. This guide explains where shibari comes from, the language you will hear, the kit you need and, most importantly, how to tie without hurting anyone.
What is shibari?
The Japanese word shibari simply means "to tie" or "to bind". In the West it has become the general name for Japanese-style rope bondage. You will also hear the word kinbaku, which means "tight binding" and is often used for the more emotional, erotic side of the practice.
Japanese-style rope tends to use thin natural-fibre rope, a small number of elegant knots and lots of friction and tension, rather than heavy knotting. The result is a look that is instantly recognisable: clean lines, geometric patterns and a strong focus on the connection between the people involved.
A short history
Shibari's roots are often traced back to hojojutsu, the martial techniques used to restrain prisoners in feudal Japan. During the 20th century, artists, photographers and performers turned rope into an erotic art form, and figures such as Seiu Ito helped shape its aesthetic through paintings and photography.
From the late 20th century onwards, rope spread around the world through magazines, workshops and the internet. Today there are rope communities in almost every major city, including a thriving scene across the UK.
Words you will hear
- Rigger or rope top. The person tying.
- Rope bottom or model. The person being tied.
- Tie. A complete pattern or harness, such as a chest harness.
- Single column and double column. The foundation ties for binding one limb, or two limbs together.
- Takate kote. The classic box tie that binds the arms behind the back. It looks simple but is an advanced, higher-risk tie.
- Floor work. Rope done on the ground, which is where everyone should start.
- Suspension. Lifting someone partly or fully off the ground with rope. This carries serious risk and needs proper in-person training.
- Rope jam. An informal social session where people practise rope together.
Choosing your rope
Most rope comes in lengths of around 7 to 8 metres and a thickness of about 6mm. Start with four to six lengths.
- Jute. The traditional choice. Light, grippy and holds knots well. It needs conditioning before use and sheds fibres at first.
- Hemp. Similar feel to jute but a little heavier and softer once broken in. Very durable.
- Cotton. Soft, cheap and washable. A great place to start, although it stretches and knots can tighten more than you expect.
- Synthetic (such as MFP or nylon). Smooth, colourful and easy to clean, but slippery. It can cause rope burn when pulled quickly.
Whatever you choose, buy rope from a specialist. Hardware-store rope is often too rough, too stiff or treated with chemicals. Our beginner bondage kit guide and BDSM and bondage gift guide include rope and starter kits from trusted retailers.
Safety first
Rope looks gentle, but it can cause real injury. The biggest risk is not cuts or bruises but nerve damage, which can be painless at first and can take weeks or months to heal.
- Learn where the nerves are. The nerves on the upper arm, inner arm, wrist and the outside of the knee are close to the surface and easy to compress. Keep rope off these areas wherever possible.
- Never tie around the neck. No exceptions.
- Keep safety shears within reach. Use blunt-tipped paramedic shears that can cut rope quickly without cutting skin. Every rigger should have a pair next to them before they start.
- Check in constantly. Ask about numbness, tingling, coldness, weakness or sharp pain. Ask the bottom to squeeze your hand and spread their fingers to check grip and movement.
- Know the warning signs. Pins and needles, a "fizzy" or electric feeling, numbness or loss of grip mean the rope comes off immediately. Do not try to finish the tie first.
- Never leave a tied person alone. Not even for a moment.
- Avoid alcohol and drugs. Both affect judgement and the ability to feel when something is wrong.
- Mind circulation. Rope should be snug, not tight. You should be able to slide a finger between the rope and the skin.
- Do not attempt suspension from videos. Suspension needs proper hard points, training and supervision from experienced teachers.
Medical conditions such as diabetes, circulation problems, joint issues or recent injuries can increase the risks. Discuss them openly before you tie.
Consent and communication
Rope is intensely intimate, so the conversation before a tie matters as much as the knots. Talk about what you both want from the session, any areas that are off limits, injuries or sensitivities, and how the bottom will signal that they need to stop.
Agree a safeword, and a non-verbal signal too, such as dropping something held in the hand, in case speaking becomes difficult. Our article on how to plan a BDSM scene covers negotiation, limits and aftercare in more depth.
Your first ties
Start on the floor, with the bottom sitting or lying comfortably, and keep sessions short.
- Practise on your own leg first. Learn to tie a neat single column on your own thigh or a cushion before you tie a partner.
- Master the single column. It is the building block of almost every tie. It should be secure but must not tighten when pulled.
- Move on to a double column. Bind wrists or ankles together, keeping the rope flat and the tension even.
- Try a simple decorative harness. A basic hip or chest harness lets you practise wrapping, tension and finishing without restricting limbs.
- Untie as carefully as you tie. Release rope slowly and smoothly, checking in as you go.
Aim for neat, even wraps with no twisted rope. Clean rope is not just prettier, it spreads pressure more evenly and is safer.
Learning properly
Books and online tutorials are helpful, but nothing replaces in-person teaching. A good teacher can see mistakes you cannot, correct your tension and show you exactly where the risk areas are on a real body.
Look for beginner workshops, classes and rope jams near you. Many venues in our dungeon directory host rope nights, offer private hire with suitable hard points or can point you towards local teachers. Rope communities are generally very welcoming to beginners who are willing to learn.
Aftercare
Rope can leave people feeling floaty, emotional or tired. Afterwards, offer water, warmth and a cuddle or quiet time, depending on what your partner needs. Check for rope marks, which usually fade within hours, and keep an eye out for any numbness or weakness over the following days. If nerve symptoms last more than a short while, seek medical advice.
Shibari rewards patience. Go slowly, stay curious and enjoy the connection that rope creates. The beauty of the ties comes with time.
This article is for adults aged 18 and over and is general information, not medical advice. Always play safe, sane and consensual.
More from the journal

Medical Play · 7 min read
The Joy of Female Sounding: A Beginner's Guide to Urethral Play
Female sounding is one of the more niche corners of medical play. Here is why people love it, what you need, and how to explore it safely and hygienically.

Play & Safety · 9 min read
How to Plan a BDSM Scene: Negotiation, Safety and Aftercare
Great scenes rarely happen by accident. Here is a step-by-step guide to negotiating, preparing, playing and winding down, so everyone leaves feeling safe and satisfied.

Chastity · 7 min read
What Is Locktober? A Guide to the October Chastity Challenge
Locktober is the kink community's month-long chastity challenge. Here is what it involves, how to choose a device, and how to stay safe for all 31 days.